Wednesday, May 26, 2010

More Weebly

Advanced Photography, Section Y


Advanced Photography, Section X

Brendan F-G
Dominick B.
Hannah H-F
Renee M.

Digital Photography, Section Y

Monday, May 10, 2010

Weebly for Digital Photography


Website Requirements:

www.weebly.com

1. Weebly URL

Like your "BlogSpot," your Weebly URL must be:
JohnSmith.weebly.com
or
JohnSmith2012.weebly.com

OR, you may choose either:
JohnSmithPhotography.weebly.com
or
JohnSmithPortfolio.weebly.com

If you would like to choose a URL that is not outlined above, please get Ms. MacWright's approval. Absolutely no pinkpandasparkles.weebly.com and the like.

2. A Header
Your website must have a header that is crafted from one of your own photographs. Your header must be created in Photoshop and sized to 770px by 140px. Use the crop tool.

3. Introduction
Write a short introduction for the main page. Your introduction should be two to three sentences. Short and sweet.

4. Pages
Your website should have at least three pages: one for "Home," one for your photographs and one for your Artist Statement / Bio.

5. Photographs
This website exists as a home for your photographs. Please include at least 15 of your own images. You may use photographs that you have shot outside of class during this year, in addition to in-class assignments. If you finish your website early, use this time to shoot more!

6. Portfolios
Your photographs must be housed in at least ONE portfolio. If you would like, you may also divide your photographs into separate portfolios/pages.

7. Your Artist Statement
Writing an artist statement for your website is your homework for this week. It due, posted to your weebly site and your blog for Monday (X) or Wednesday (Y).
Visit Art Notes - Digital Photography for more information.

8. Other
You will have the week to play with Weebly and explore its various free tools. When I grade your website, my number one concern will be: "Is it professional?" Nevertheless, my second question will be, "Did the student use Weebly to its full potential?" I expect you to explore beyond these seven "requirements."

Example site from Alexandra Kovacs, a friend of Ms. MacWright's.

Monday, April 26, 2010

Jack's New Technique (Tilt-Shift)

Adv. Photo Inspiration

Example of a new technique you could master for Art Night (from Flickr):


Sunday, April 25, 2010

Tuesday, April 20, 2010

Digital Photography

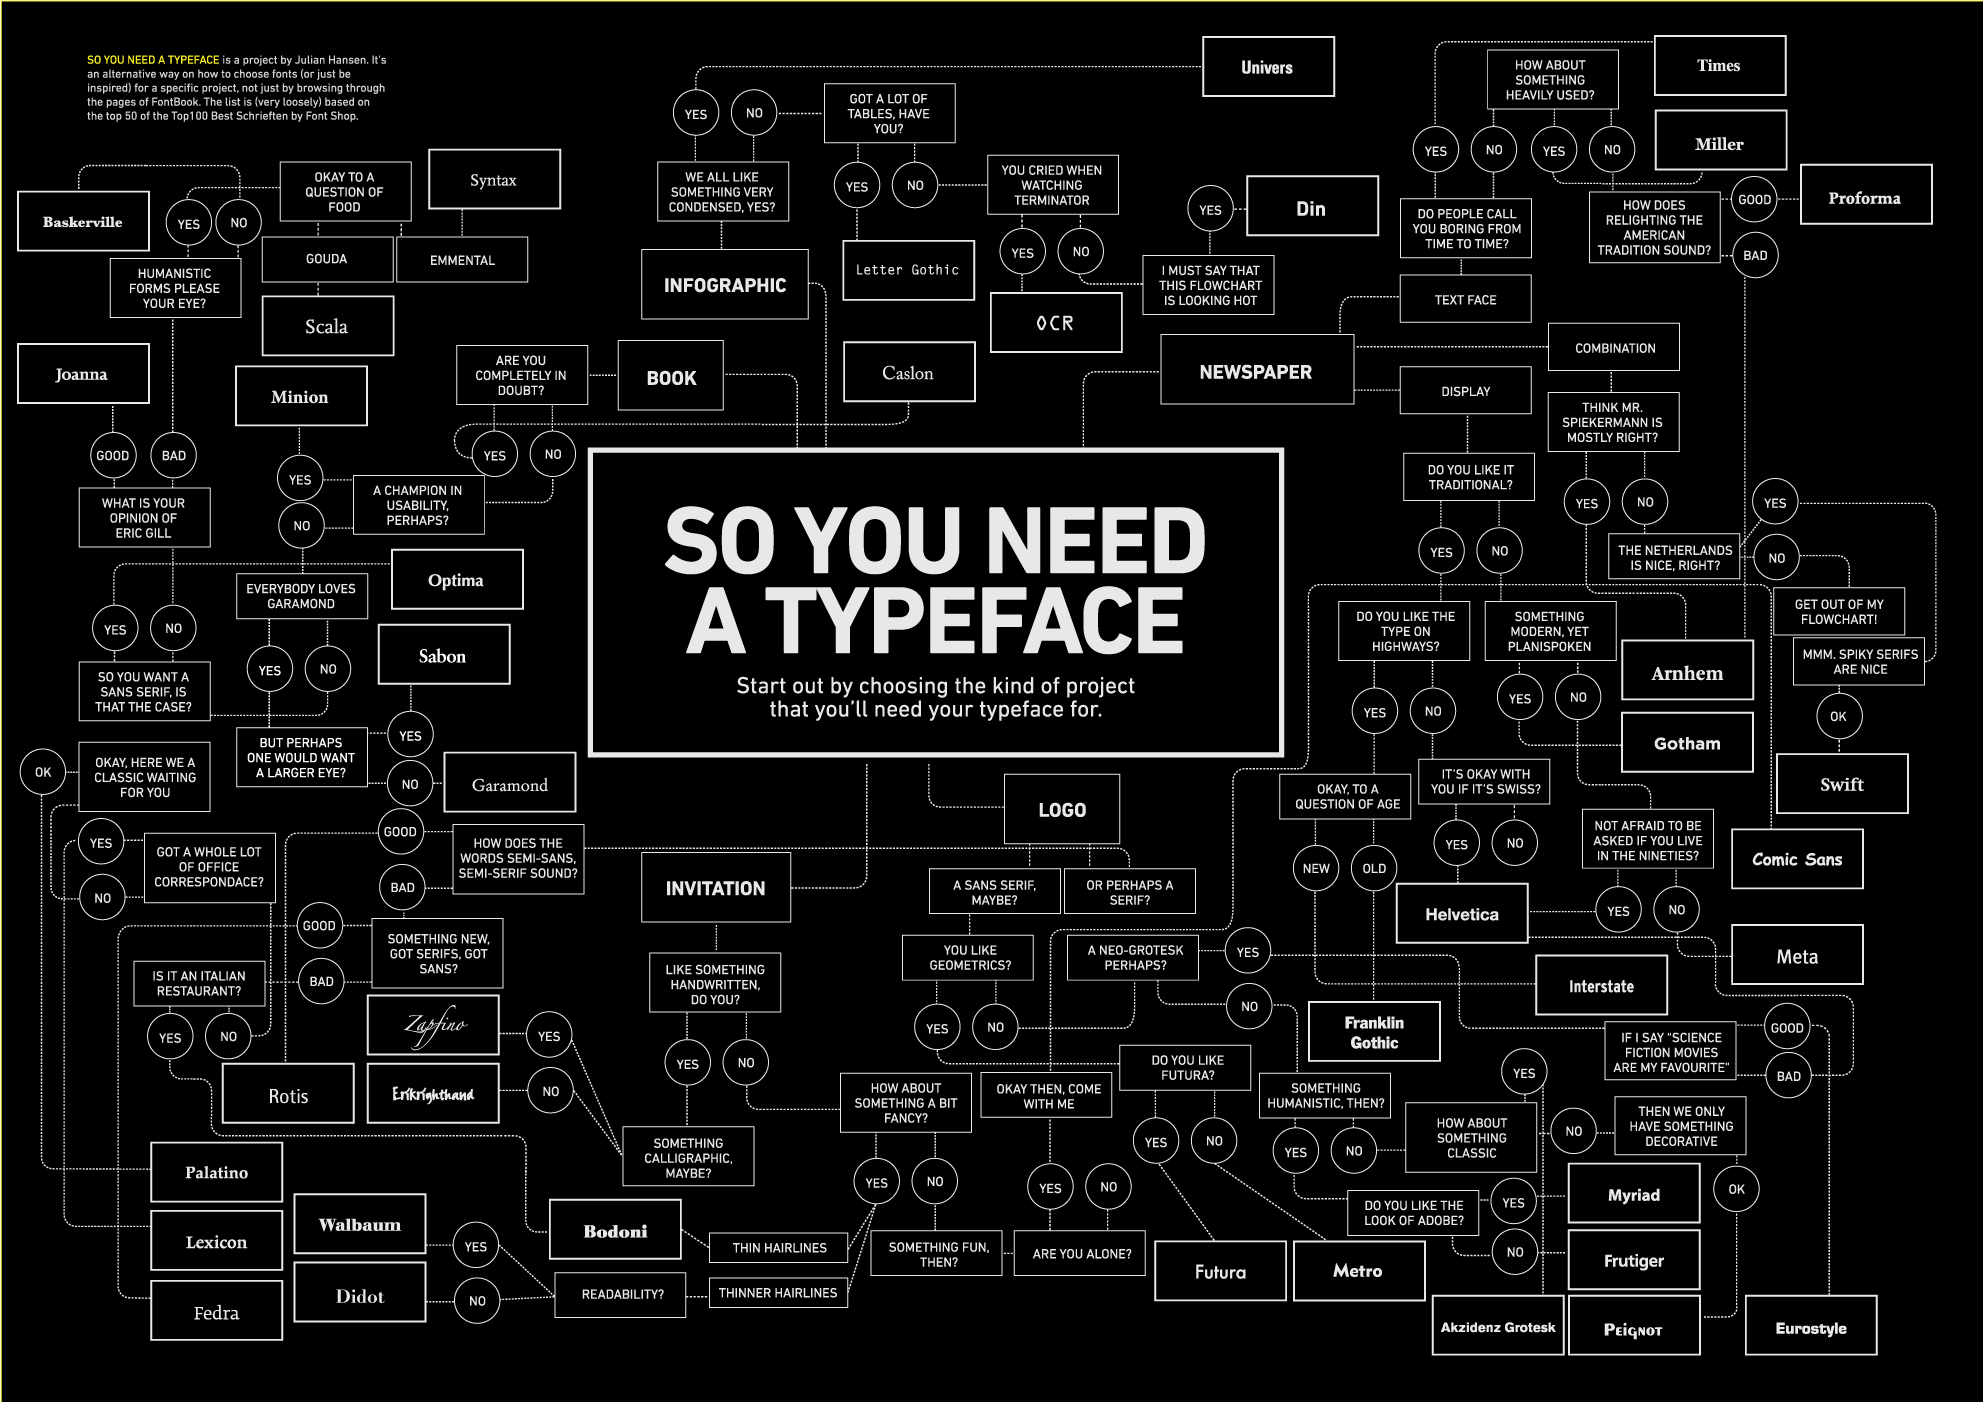
Fun font map by Julian Hansen: Click to see full-size.

Monday, March 29, 2010

In-Class Project on PhotoBlog for Adv. Photo

PhotoBlog Project for the Last Week of March
for Advanced Photography, Sections X and Y

1. Leaf through the photo books and magazines in the photo rooms. Find an image or set of images that appeal to you.

2. Create three PhotoBlog posts inspired by your find.
  • Your posts can involve:
  1. photographs (your own or others, edited or straight)
  2. text (written by you or another author, fiction or non-fiction)
  3. photographed drawings or storyboards

The sky is the limit... provided that there is an element of invention.

How will I grade your work?
Posts are due by 12:15 on Wednesday (Section X) and 2:25 on Thursday (Section Y).
You will briefly present your work to me, and I will grade it based on the following parameters:
  1. Work Ethic: Did you work consistently through the week?
  2. Invention/Experimentation: Did you take risks? Try something new?
  3. Care: Are the images (if present) carefully produced and edited? Is the text (if present) carefully written and proofread? Do all the elements appear properly in the browser window?

Monday, February 8, 2010

Advertising Project

Image by Mindy H. (DS '11)

Digital Photography 09-10, Ms. MacWright


ADVERTISING PROJECT


Ad #1: Emulation


Find an effective print ad from a newspaper or magazine to emulate. Match the fonts, photographs, colors, and layout as best as you possibly can. Replace the advertised product with this year’s challenge product:copy paper. As you work on this project, we will be learning and perfecting a number of new Photoshop tools and techniques.

New Tools and Techniques:

Pen Tool and Selections

Canvas Size

Text/Character

Patch Tool

Rubber Stamp Tool

Shapes and gradients

Vector Art


Ad #2: Suggestion


Read the paragraph below that describes advertising through suggestion. You will select one term at random; it will be one of the following:

1. health and fitness

2. identity and reputation

3. fear of illness

4. herd instinct

5. sex drive

6. reward

7. belonging

8. fear of weakness

9. happiness

10. appearance and self-esteem


You must sell the challenge product (white copy paper!) by suggesting a relationship between the product and the term you picked. You will build the ad from start to finish - selecting fonts, photographs, catch terms, etc.


Advertising Through Suggestion (from wikipedia.com)


The most important element of advertising is not information but suggestion: more or less making use of associations, emotions (appeal to emotion) and drives dormant in the sub-conscience of people, such as sex drive, herd instinct, of desires, such as happiness, health, fitness, appearance, self-esteem, reputation, belonging, social status, identity, adventure, distraction, reward, of fears (appeal to fear), such as illness, weaknesses, loneliness, need, uncertainty, security or of prejudices, learned opinions and comforts. All human needs, relationships, and fears – the deepest recesses of the human psyche – become mere means for the expansion of the commodity universe under the force of modern marketing.

Sunday, January 24, 2010

Digital Photography

In-Class Exercise

Images to convert to B&W using Channel Mixer and Hue/Saturation:


Reference photos:

B &W:


Early Annie Leibovitz


Diane Arbus

Color:

Early Gregory Crewdson


Annie Leibovitz

Wednesday, January 6, 2010

Picturebook Examples


Here are some of Dylan Davis's PICTUREBOOK images from 2008-2009

Dylan's PICTUREBOOK Images

Sunday, January 3, 2010

Emulation Project Research

Hi Digital Photography,

You may want to check out this link: Photography-Now when you are looking for photographers to emulate.

Good luck!

Monday, December 14, 2009

Thursday, December 10, 2009

Snow Day Post


Thursday, December 3, 2009

Point, Shoot, Retouch and Label?

Link to the article we read today:


Please link to this article on your P,S,R and L blog post.

Monday, November 30, 2009

The Chicken and Me

Sample Layout for Sequence/Series Project:


Sunday, November 22, 2009

A Note about Printer Inks

If you are about to print and your computer warns you about low ink levels, check the front of the printer. If the ink button is flashing red, ask me to change the ink cartridge. If not, no worries -- continue printing!

Monday, November 16, 2009

How to Print

Hi Digital Photography,

Use the following post when you need a refresher on how to print an image in the Digital Photography Lab. Remember, you may only print with my permission and on the paper you purchased at the beginning of the school year.


1. Make sure Computer #7 is on.

2. If you are using a Mac: Move your photograph to a PC. At this moment, we can only make prints from the PCs, so if you are using a Mac you will need to move your image(s) to a PC. First, flatten your image (Layer - Flatten Image) and Save-As a JPEG. Then use my USB drive, located on the side of my desk, or your own, to move your file(s) to one of the PCs.

3. Open your image in Photoshop. Flatten your image (Layer - Flatten Image) and Save-As a JPEG.


4. Check your Image Size (Image - Image Size). Be sure you are NOT working from an image you downloaded from your Photoblog. This image will be too small - you will see the resolution is 72, too small for making a print.

5. Your print resolution must be 300 dpi. If I require a particular-sized print, such as 8x10 or 5x7, use the crop tool to resize your image. Be sure to enter 300 for the resolution. This action should make your image smaller. If your canvas suddenly expands, call me over for help.


5. Next, select "Print with Preview" in the File menu (PC). Or, "Print" in the File menu (Mac).

6. Check to make sure the height and width (and resolution) is correct.


7. If you need to change the paper orientation (Portrait or Landscape), select Page Set-Up and select the appropriate orientation.

8. Click "Print"

9. Printer Name should be "EPSON Stylus Photo R2400." Be sure not to accidentally select the "HP Photosmart."

10. Click on the button named "Properties"

11. Quality: Select Photo

12. Paper Options: Type: Select Premium Photo Paper Glossy

13. Click on the button named "Advanced"

14. Uncheck "High Speed"

15. Click on the button named Ink Config

16. Add 2 units of "Drying Time per Print Head Pass."

17. Press "OK"

18. Press "OK"

19. Press "OK"

20. Before you press the final "OK," be sure you are ready to print. Is your paper in the printer, shiny side facing out? Is someone else printing right now? If so, wait. If not, go for it!

Tuesday, November 3, 2009

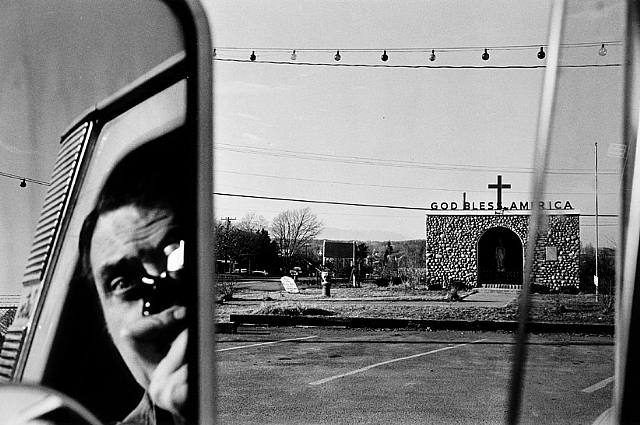
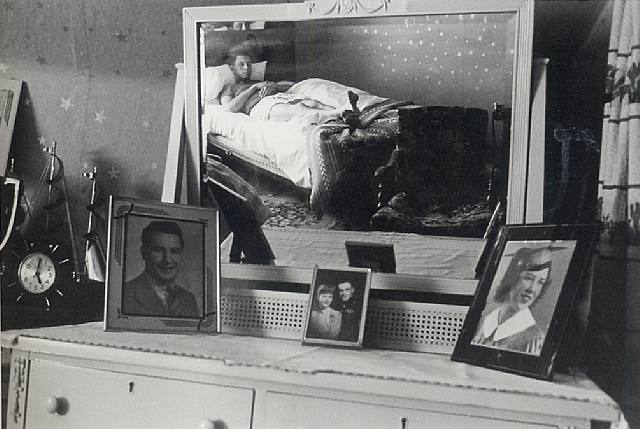
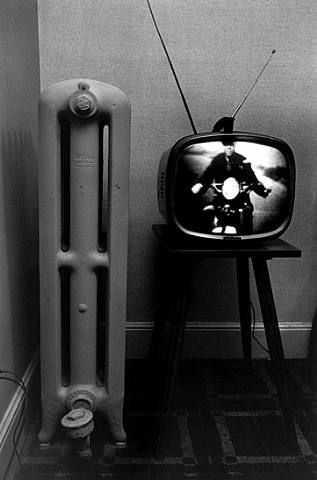
Lee Friedlander - Frame within a Frame

Our next project is called "Frame within a Frame." Every photograph has an exterior frame (the limits of the image), but these photographs by Lee Friedlander and the ones you will make for this assignment will also have an interior frame. We will use the interior frame to direct the viewer's attention. Last year, Digital Photography students made some excellent Frame within a Frame photographs that you can check out here:


For the first part of today's class, paste* three of these images below into a new post on your Photoblog. For each one, describe the interior frame and how it directs the viewer's attention. You may find more than one interior frame in a given photograph; when this is the case, record and analyze both.

*Upload each photograph by the URL method. This is good practice for those acquainted with this method, and a good time to learn for those uninitiated. Right-click (PC) or Control-click (Mac) the image you would like to select, a fly-out window will appear. From this window, select "View Image." The image you selected will pop up, alone, in your window. Return to your Photoblog, hit the add-image button and copy-paste the link from your image window into the URL space. Finally, press the big orange button - "Upload Image."

1.


2.


3.


4.


5.


6.

Tuesday, October 20, 2009

"Photoshop Disasters"


A link to the article we read in class: Should Photos Come With Warning Labels?

Some examples from "Photoshop Disasters:"